Saturday, December 20, 2014

Working on UFO's

A couple of months ago I went through my stuff look for tops that needed quilting. I found 9! Some are not tops I made but are ones I bought. I have one on my frame that I'm hand quilting. This was a vintage bow-tie quilt I bought.


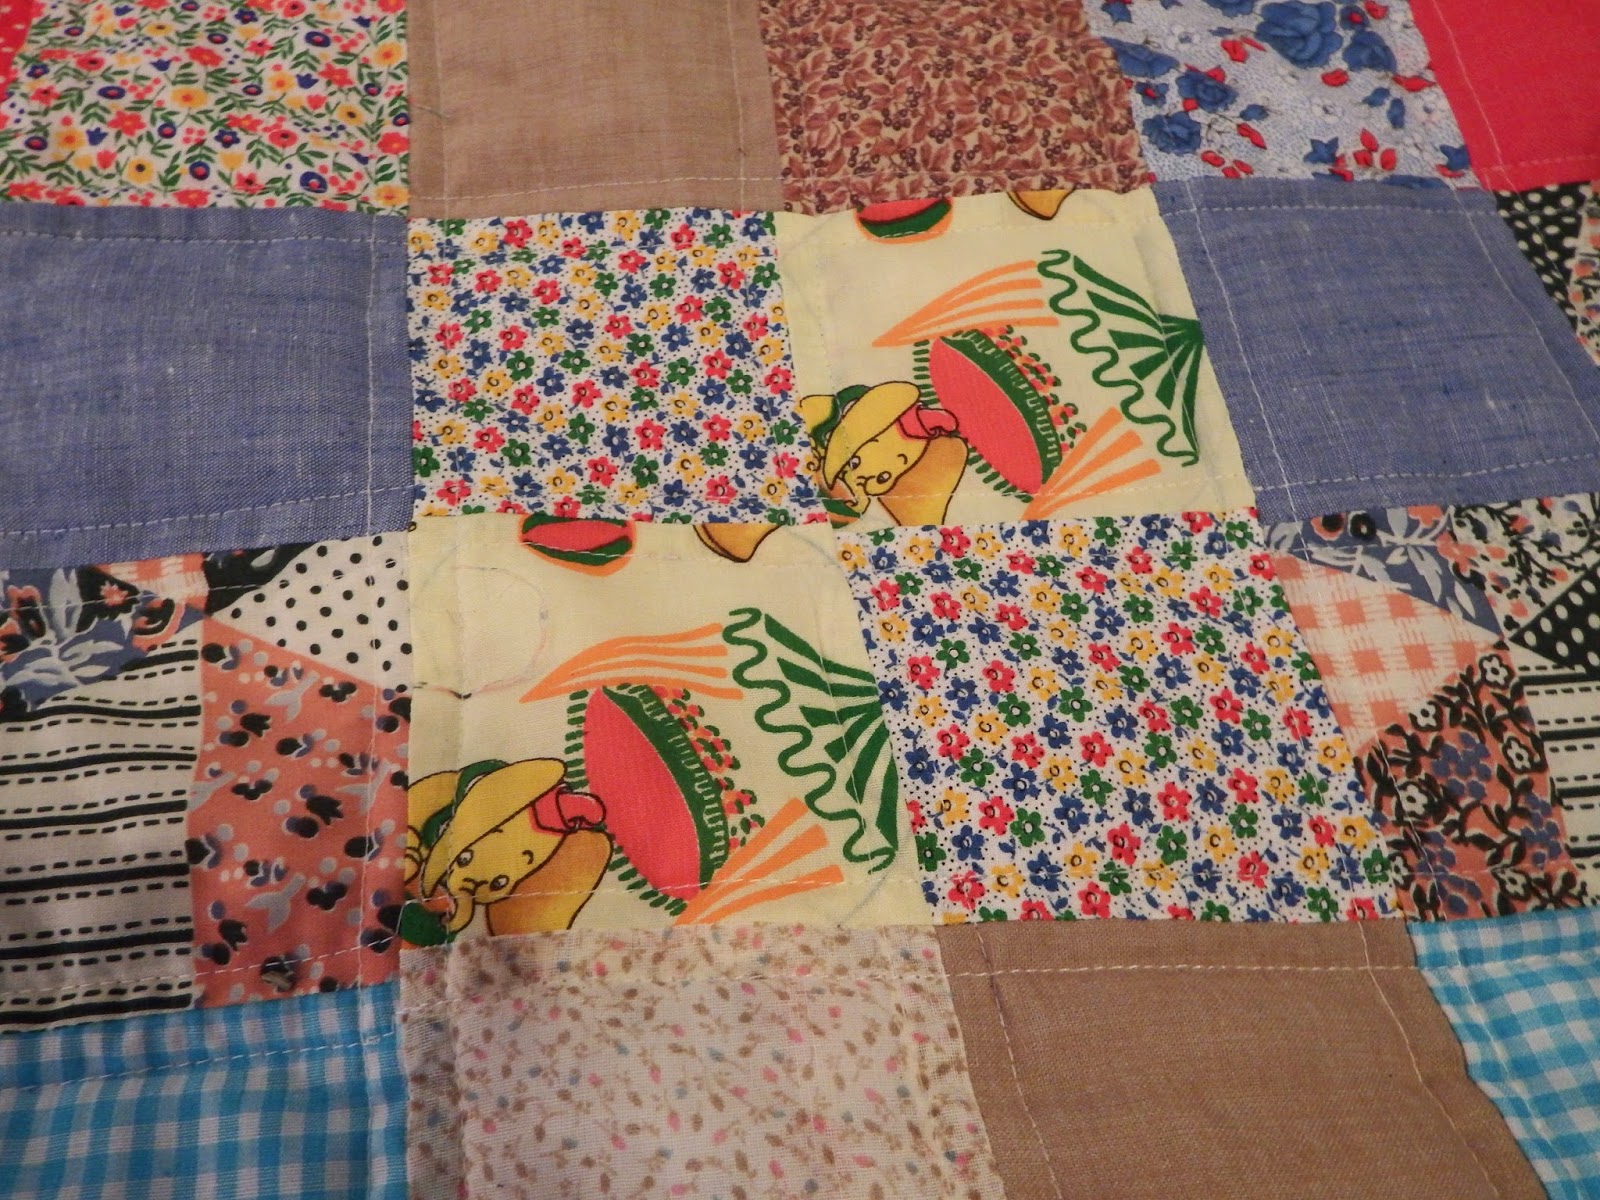
This is a vintage 4 patch that was machine pieced. Most of the fabrics look like they are from the 70's. There's some polyester going on in there. I machine quilted 1/4-inch on each side of the seams.
 

See Dumbo?


This vintage top was hand pieced. I was having a hard time getting a picture of the complete quilt. The strips make squares to a certain point. Then there are just strips on each end.


I've been watching a class by Leah Day about Free Motion Quilting on Craftsy.com. I did some practice on this quilt top.
 

This is the back I pieced together from older fabrics in my stash.


Two down, 7 more to go! Most of the remaining ones will be machine quilted. I have two vintage scrappy 9-patch left to quilt. Also, tops I've pieced include a scrappy 1-patch, pink and white snowball, Celestial Sampler (stars and angels), and Thimbleberries pattern of pine tree blocks.

I need to get busy preparing backing and basting.


Sunday, December 14, 2014

Pillowcase from leftovers and a remade quilt

Going through my scraps I came across these quilted strips that I had trimmed from a lap quilt I did a few years ago. I have no idea why I trimmed such large pieces after quilting. I must have really messed up with my basting and things shifted.


 I sewed the strips together. Added some white quilted pieces and made myself a pillow case. I'm pleased with the results.


In 2005 I made my sister a large quilt from 12-inch squares of fabric. Instead of quilting, I tied it. Her dog, Sadie, decided right off the bat that the quilt belonged to her. You can see the quilt and Sadie in this post  http://craftypat.blogspot.com/2008/11/for-many-years-i-had-good-intentions-of.html

Sadie is now getting on in years and everyone knows she won't be around forever. A few months ago my sister mentioned when the time comes she wants to bury the quilt with Sadie. Honestly, my first reaction was a bit of shock. Then I thought about I made the quilt to comfort my sister and if that brings her comfort then she should do it. A few days later I came up with the idea of dividing the quilting into two quilts. My sister was all for that! She said she had thought of it but hated to ask. 

When I got the quilt I kept thinking it seemed very thin. When I took it apart I found the polyester batting had disintegrated! Apparently I had not put the ties close enough together. 


I cut the quilt top in two pieces. Removed the backing and batting. With new batting and backing, I machine quilted each piece using straight-line quilting. I then used solid red for the binding.


A few weeks after finishing them I went to visit my sister and return her "new" quilts. Sadie approves:


Her sister, Ruby, had to also test out the quilt.


Saturday, November 15, 2014

More quilts for little ones

More quilts for little ones! These two went to a 3-year-old great niece and her new baby brother.


This was made from 6 fat quarters using the Turning Twenty Pattern.


Here is the back of it:


Here is the one for the new little boy. I just cut squares and rectangles to make this one.


A close up view:


A view showing the backing:


Sunday, November 9, 2014

Free Motion Quilting

What is this mess below?


Oh, that's me trying to free motion quilt. I recently found out about Leah Day https://www.leahday.com/ and her fabulous free motion quilting. She is a talented young lady. You can take one of her classes on Craftsy.com. Use the link on Leah's website to get 50% off the classes.

I signed up for "Free Motion Quilting a Sampler". It is 9 hours of video instruction about free motion quilting. I've watched a few hours so far and it is great. It's the first class I've taken on Craftsy. You go at your own pace, can pause any time you want and even add notes at any points in the video. 

One reason my practice piece is such a mess is because of tension issues. I had dark thread in the top and light thread in the bottom to make sure the tension was right. It wasn't! I kept messing around with it. Tried different thread on the top and still had problems. Finally I tried a different bobbin. Ah ha! That was the problem. The bobbin I was using seemed to not be wound tight enough. 

I still need a lot more practice of this type of free motion quilting. I'm not good at judging distances. That is part of my problem doing this type of echo quilting.

This practice was done on my Husqvarna Viking Quilt Designer II. Leah Day talks about a way to modify a generic free motion quilting foot so that it does not "hop" while you are quilting. I realized with my Quilt Designer II, that is not necessary. If you get the speed up just a little, the foot stops hopping. I made a short video to show you.


I spent a lot of time organizing quilting supplies and fabric this weekend. I found two items I need to frame or make into wall hangings.


Saturday, November 1, 2014

Two little girl quilts

Today is about more baby quilts. These two quilts went to sisters.

This one took me a lot longer than it should have. I just was not in the quilting mood for a long time. But I did get it to her before she started to school :)


Isn't she a cutie?


When the little sister was announced, I got motivated to finish the one above and make one for the youngest.


This was the "Turning 20" pattern but with 6 blocks instead of 20 blocks. 


Friday, October 31, 2014

Back to blogging!

So it's been years since I updated my blog, oh well. I'm not even going to try to recap the last few years but just focus on I've gotten my sewing mojo back. 

My nieces and nephews have produced a few children in the last few years, so I will start with some pictures of baby quilts. 

The oldest great-nephew in this picture already has a quilt so I made him a fleece blanket.


For the littlest one, I did this sea theme quilt:


This picture is showing the front and the back.


 For the girl in the family, I did this with flowers and butterflies on one side and ladybugs on the other side:


This is the braided edge on the fleece blanket. I got the instructions from http://www.piecesbypolly.com/2010/12/braided-fleece-blankets-tutorial.html 

I didn't use the bent paper clip like she did. I just used my fingers to connect the pieces.


This is my blanket/quilt tester. His name is Chuck Norris. 


More pictures to come in a few days!